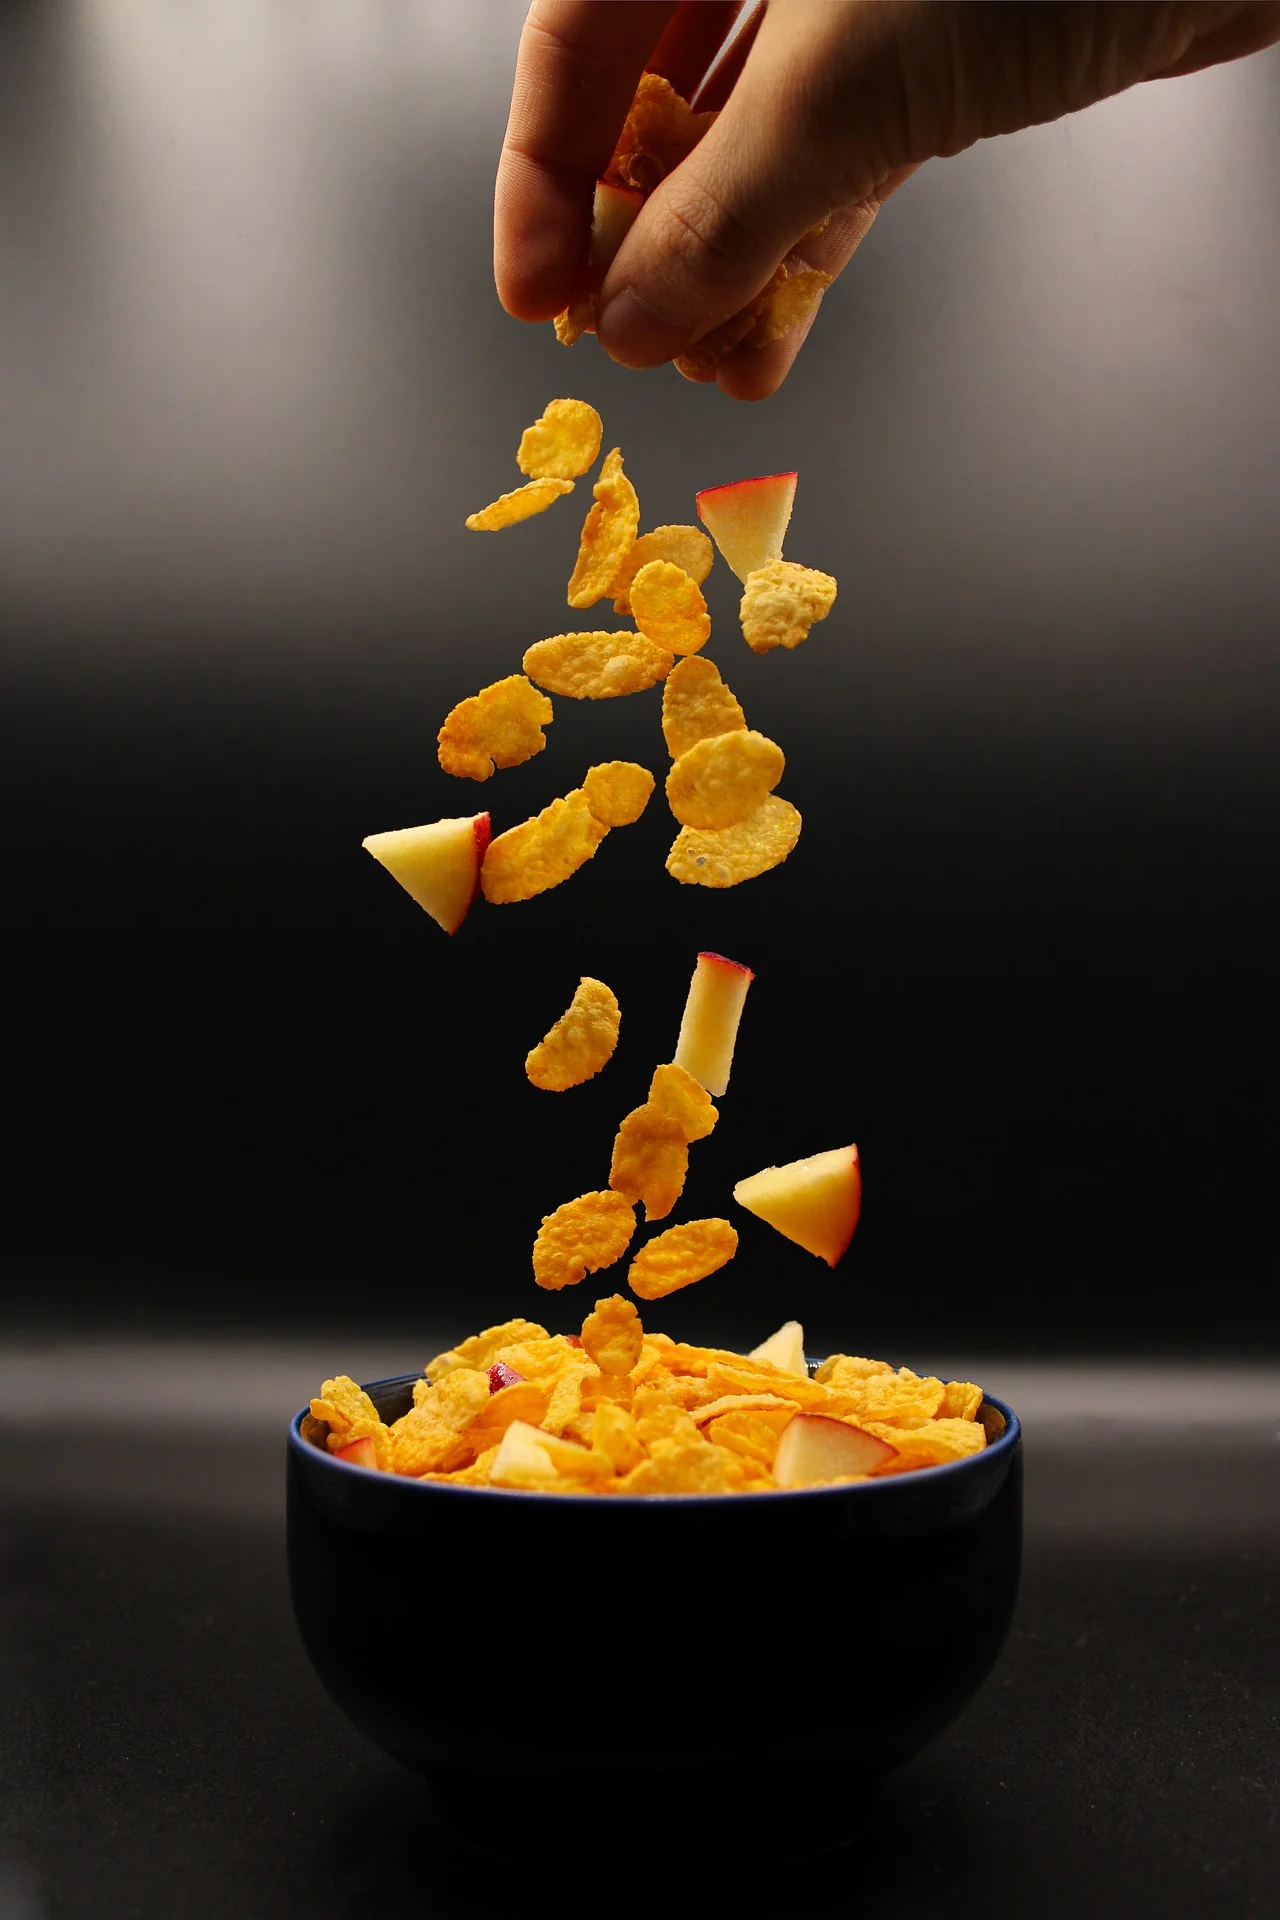
The apparent value of your products and the credibility of your brand is often judged on the excellence of your visual demonstration. Showcasing your products with excellent images can also be the difference between a conversion and no sale at all.
Only a few things for the setup you require.
-
-
- Camera
- Tripod
- White background
- White bounce cards made of foam board
- Table
- Tape
- The right room
-
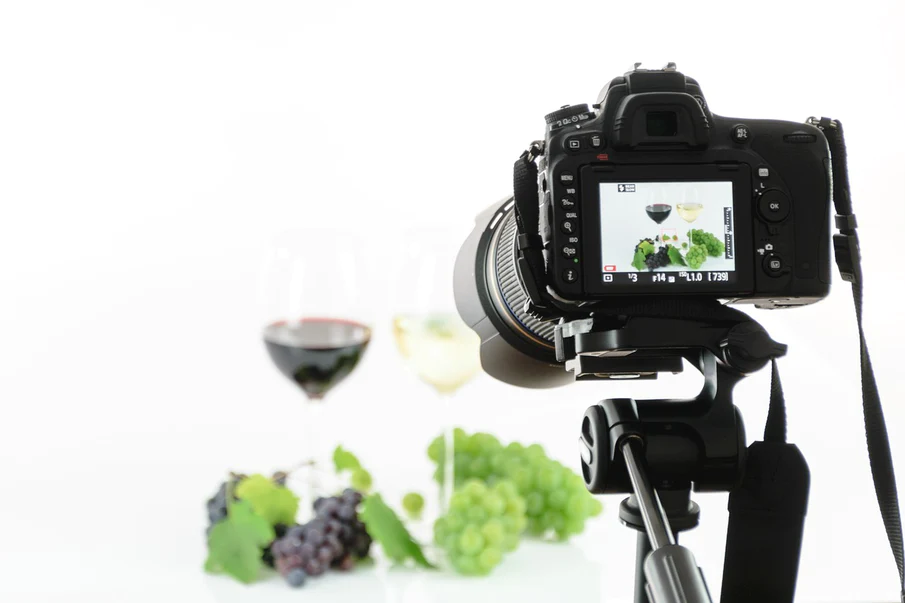
Step by step method for shooting images of your products
Step 1: Set up your table
It’s time to set up once you have gathered your gear. Place your table as near as possible to the window. The closest you are to the glass, the stronger the light will be, and the wider the glass. You can try rotating the set for a different style of lighting.
Step 2: Set up your sweep
There are a lot of ways to do this, but getting your vertical sweep is the ultimate target. To help it achieve the form, you can need to roll up the board.Place your product in the center on the flat part of the sweep and leave enough room to place your white reflector card in later.
Step 3: Set up your camera
Every camera is a little different. Some cameras are fully auto and some have the ability of variations. The beauty of this window light setup is that you can set everything to auto and it will still work fine.
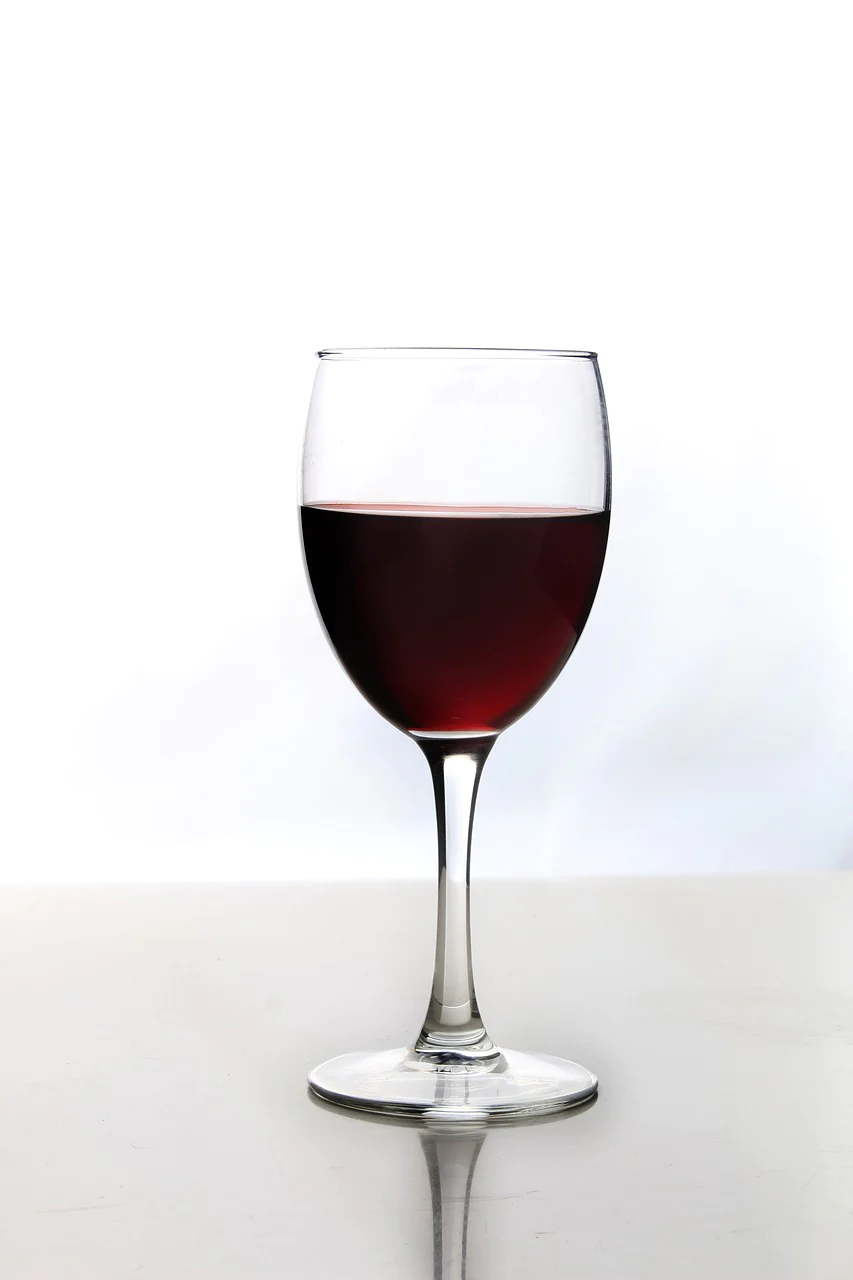
Step 4: Set up your product
Setting up your product is something that appears to be basic, but can take time and effort to flawless. If it’s a product with a label, for example, you have to keep the label type centered. Often tiny movements and adjustments are required to get everything lined up perfectly.
Step 5: Set up the reflector card
The light will bounce off the simple white card and fill in all the shadows. Try it at different angles to the product, to have different results.
Step 6: Take the picture and evaluate
Once you take the picture, take some time, and look at what you’ve created. Experiment with different methods of making your image better and, over time, your skills will naturally improve.
Step 7: Get your pictures retouched
Once you’ve got a final image, it’s time to get it retouched. If you photographed your product correctly, the product should be properly exposed and your background should be a light gray, it will require little retouching.